
Maix2 Dock Serial Comms
The easiest way to check that the SD Card you have created is working is to connect to the device over the serial port.
Picocom is a great tool providing terminal emulation over USB serial.
For OSX a quick install can be performed via :
brew install picocom
Plug your Mac USB-C cable into the USB-UART port on the Maix 2 board.
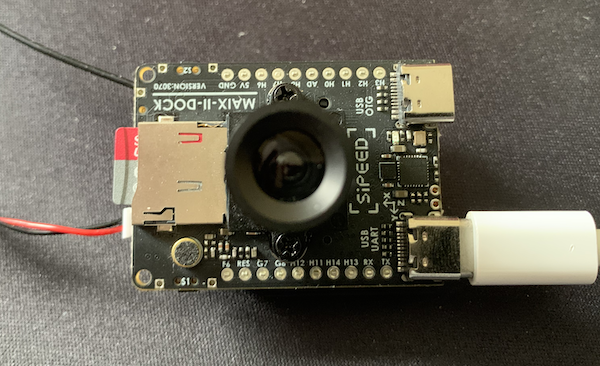
You can connect to the device using the USB serial device. For me, the device is /dev/cu.usbserial-14200
THe baud rate that the board uses is 115200, so to connect via picocom use
picocom -b 115200 /dev/cu.usbserial-14200
This gives you a root connection to the device. This is a good time to set a new password for the root account on the device.
As this device is running Linux and has built-in Wi-Fi, you can add the device to your local wifi by editing /etc/wpa_supplicant.conf and setting the ssid/psk fields.
Pressing the RST (middle) button will reboot the device. The picocom terminal you have connected to the device should show the boot process. If you have configured the /etc/wpa_supplicant.conf correctly, you will see a block of text confirming the ip address that the device has on your network.
Starting ntpd: done


BusyBox v1.27.2 () built-in shell (ash)

------run profile file-----
   __  ___     _        __   _
  /  |/  /__ _(_)_ __  / /  (_)__  __ ____ __
 / /|_/ / _ `/ /\ \ / / /__/ / _ \/ // /\ \ /
/_/  /_/\_,_/_//_\_\ /____/_/_//_/\_,_//_\_\
 ----------------------------------------------
root@sipeed:/# udhcpc: sending discover
udhcpc: sending select for 172.16.0.238
udhcpc: lease of 172.16.0.238 obtained, lease time 86400
udhcpc: ifconfig wlan0 172.16.0.238 netmask 255.255.255.0 broadcast 172.16.0.255
udhcpc: setting default routers: 172.16.0.1
You should then be able to ssh directly to the device and update the software via the opkg package manager
opkg update
opkg install opencv