Solar Data Handling With Prometheus, Grafana And Docker
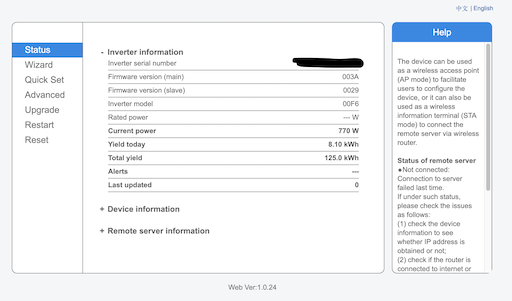
Now that we can pull the data from the local solar inverters, we need somewhere to store it. The excellent solismon3 discussed in the last post presents a simple page that Prometheus can consume to store the historic data.
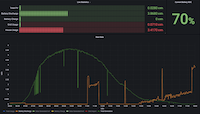
The reporting partner to Prometheus is Grafana. This allows the creation of graphs/basic reporting of the data like this :

To bundle everything together I created two solismon3 docker images with the configuration for each inverter added. I then used docker-compose to run those along with Prometheus and Grafana as follows :